How to Make a Block Poster at Home: A Complete Beginner's Guide
Step-by-step walkthrough for printing a wall-sized block poster on a regular home printer — image prep, grid setup, print settings, trimming and assembly.

Printing a large, wall-sized poster used to mean a trip to the print shop, a quote in the hundreds of dollars, and a week of waiting. Today you can produce the same print from your home office in under an hour — by splitting the image across multiple standard pages, printing them on a regular inkjet or laser printer, and joining them back together. The technique is called block poster printing, and this guide walks through it end to end, whether you are making a classroom map, a gallery photo wall, or a birthday banner.
What Is a Block Poster?
A block poster is a single large image that has been split into a grid of smaller pages — typically A4, US Letter or A3 — so every page can be printed on an ordinary home printer and then assembled into an oversized print. Because the pages tile together like ceramic blocks, the name stuck. The technique works with any high-resolution photo, illustration, infographic or map, and the only real limits are the resolution of your source image and the size of your wall.
What You Will Need
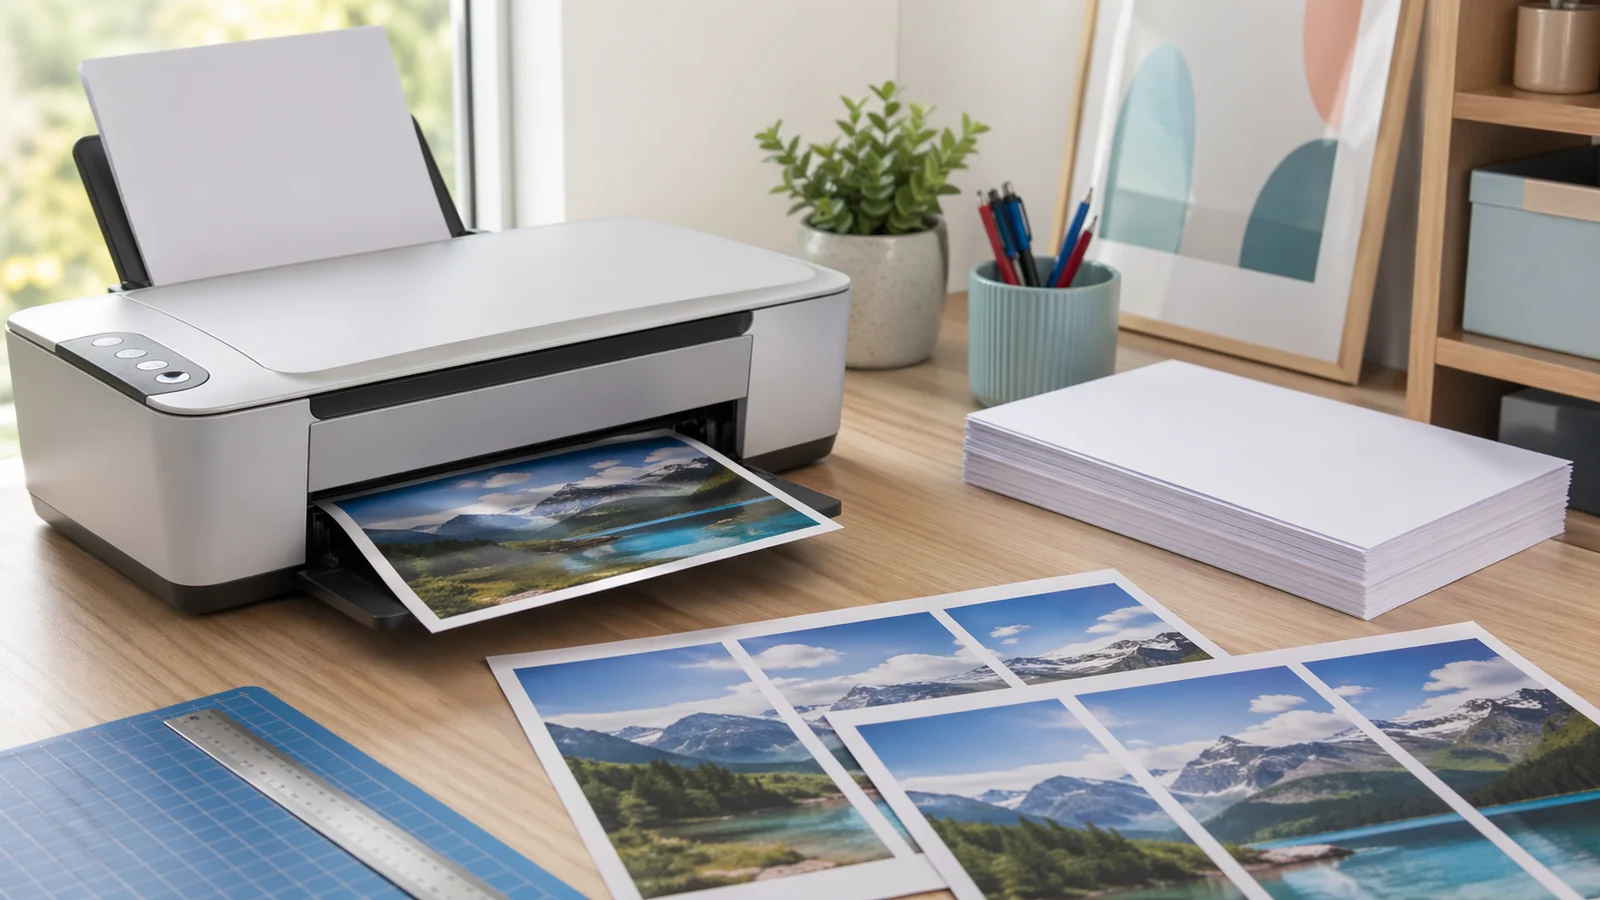
Most of this is already on your desk. You do not need specialist tools or photo equipment — a standard home printer produces strong results, and a few inexpensive extras will sharpen your finish.
- A high-resolution image (JPG, PNG or WebP) — ideally at least 1500 pixels on the long side
- A home inkjet or laser printer
- Plain office paper, or matte photo paper for a richer finish
- A paper trimmer, craft knife with a steel ruler, or sharp scissors
- Clear tape or double-sided tape for seams
- A flat surface large enough to lay the finished poster face-down
Step 1 — Choose the Right Image
Start with the largest, sharpest image you have. A block poster magnifies every pixel: a photo that looks tack-sharp on your phone can reveal softness when blown up to 48 inches wide. As a rule of thumb, aim for about 150 pixels per printed inch for standard quality and 300 ppi for a premium finish. That means a four-page-wide poster on A4 paper needs an image at least 3000 pixels across; a six-page-wide piece benefits from 4500 or more. Smaller images still print — just plan for a softer, painterly look rather than crystal detail.
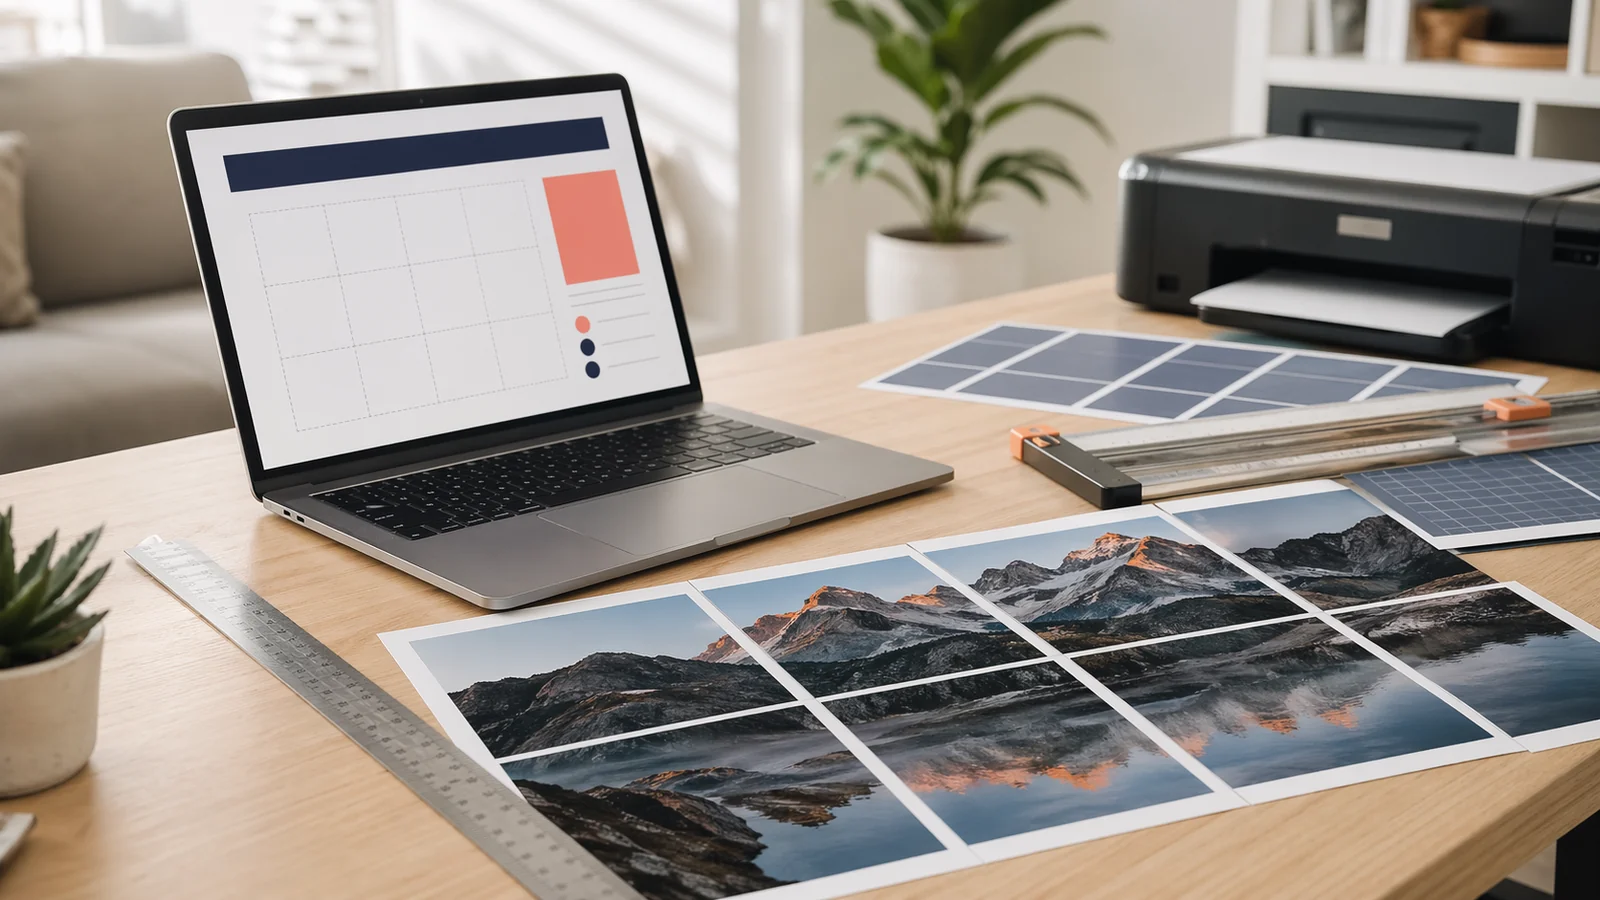
Step 2 — Configure Your Grid
Open BlockPoster.net and upload your image. Pick a paper size — A4 and US Letter are the most universal — then choose how many pages wide and tall you want. You will see a live preview of exactly how the image tiles onto the grid. Two settings are worth paying attention to: overlap and orientation. A 10–15 mm overlap on each page edge gives you a safety margin when trimming, so no white gaps show in the final poster. Orientation should follow the shape of your image — landscape shots on landscape pages, portraits on portrait pages.
Step 3 — Print at the Correct Scale
This is the single step that trips people up. In your printer dialog you must print at 100% scale — never "fit to page" or "shrink oversized pages." If your driver offers Actual Size, choose that. Fit-to-page shrinks each tile independently and leaves visible seams that cannot be realigned afterwards. Print one test page first to confirm the colors and scale before running the full job.
- Paper size must match the size you chose in Block Poster (usually A4 or Letter)
- Scale: 100% or Actual Size — never Fit to Page
- Quality: set to the highest your printer supports
- Always print one test page before the full batch
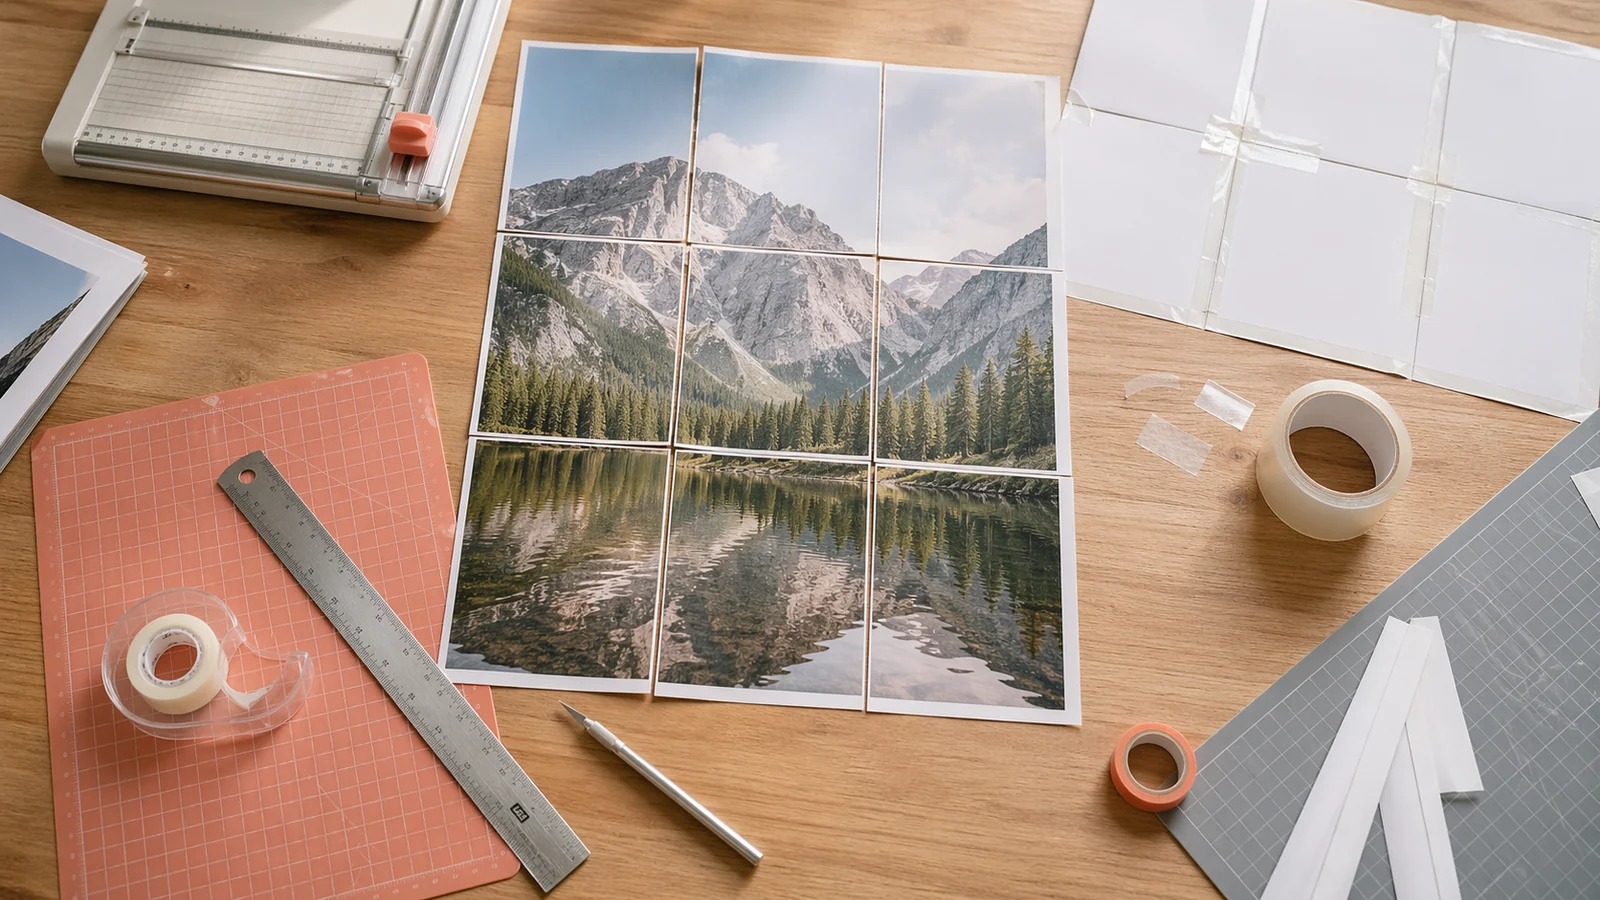
Step 4 — Trim and Assemble
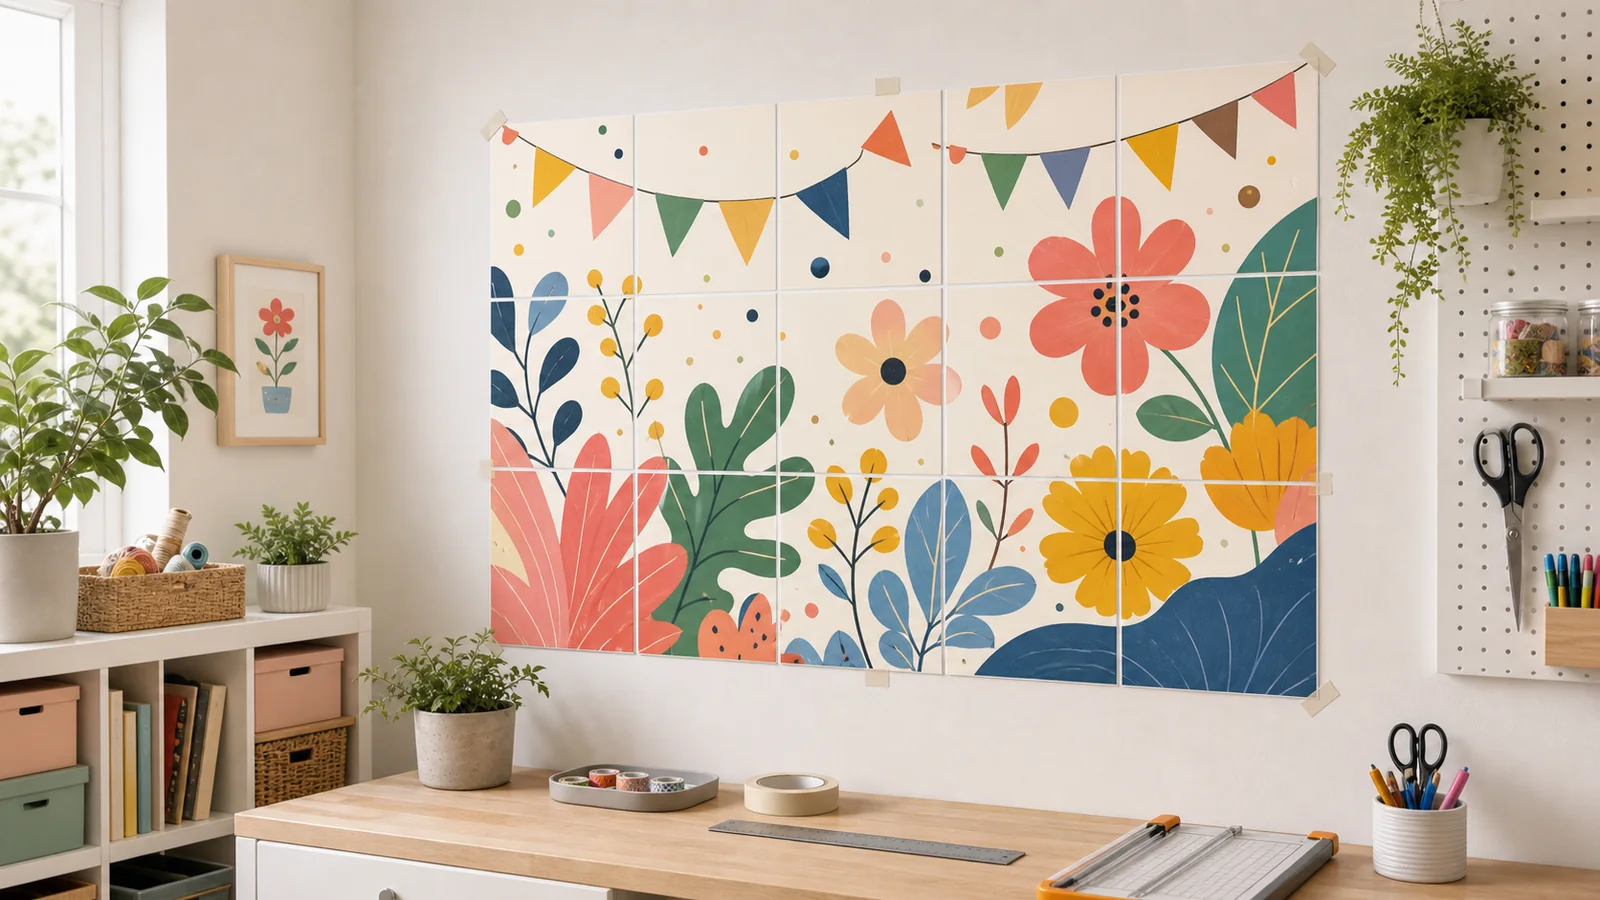
Once you have a stack of pages, trim the outer white margins on two sides of every page — usually the right and bottom edges. Leave the left and top edges intact; those are the overlap tabs that sit under the next tile. A paper trimmer gives the cleanest cut, but a craft knife against a steel ruler works just as well. Lay the pages face-down on a flat surface in reading order, align the overlapping edges with light tape, then tape the full seams on the back. Flip it over, and you have a gallery-worthy wall poster.
Pro Tips for a Pristine Finish
- Print a single-page test before the full run to check color and scale
- Use matte photo paper for deeper blacks and less glare than standard office paper
- If tiles misalign by a hair, trim a millimetre off a white edge to nudge them into place
- For permanent display, mount the finished poster on foam core with spray adhesive
- Photograph the result in daylight — even a phone camera captures the finish beautifully
That is the full workflow: one image, a few configuration choices, and a short printing session. Your first block poster will probably take about 45 minutes from upload to finished wall art; after that, most people can turn around a poster in half the time. Once you see how much professional-looking print you can produce from a desktop printer, it is hard to go back to commercial printing for anything but the largest installations.
Related reading
A modern Posterizer alternative for tiled poster PDFs
Use Block Poster as a clean, multi-language Posterizer alternative when you want browser-based tiled PDFs, no signup, and image processing that stays on your device.
How to Assemble a Multi-Page Poster Cleanly
A step-by-step workflow for trimming, aligning, taping, and mounting block poster pages so the finished poster looks straight and intentional.