How to Assemble a Multi-Page Poster Cleanly
A step-by-step workflow for trimming, aligning, taping, and mounting block poster pages so the finished poster looks straight and intentional.
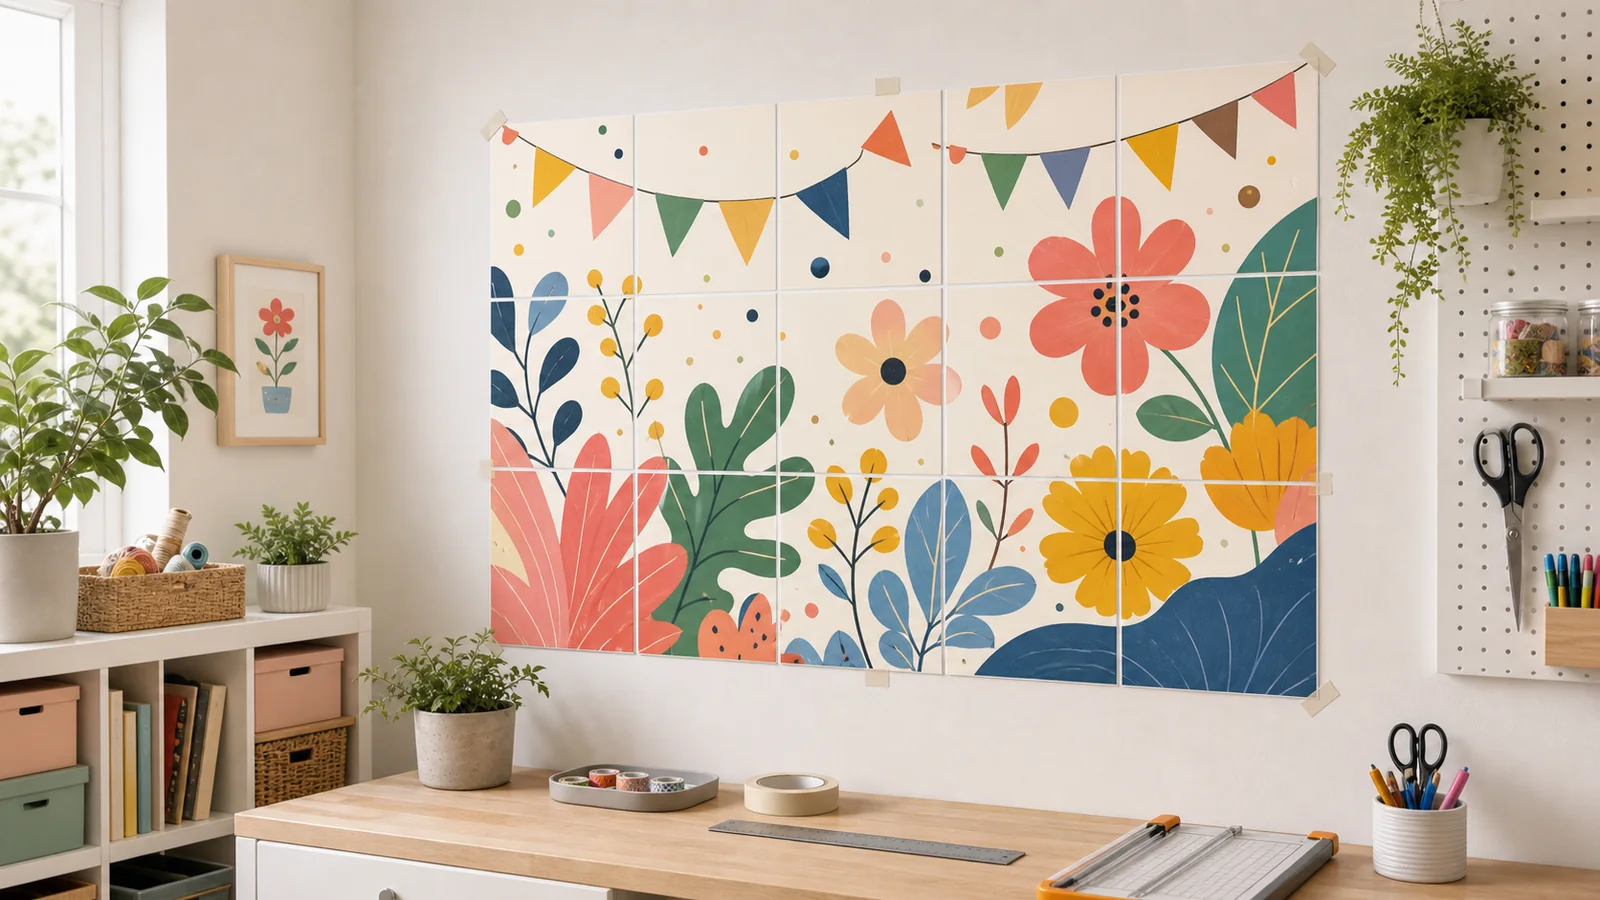
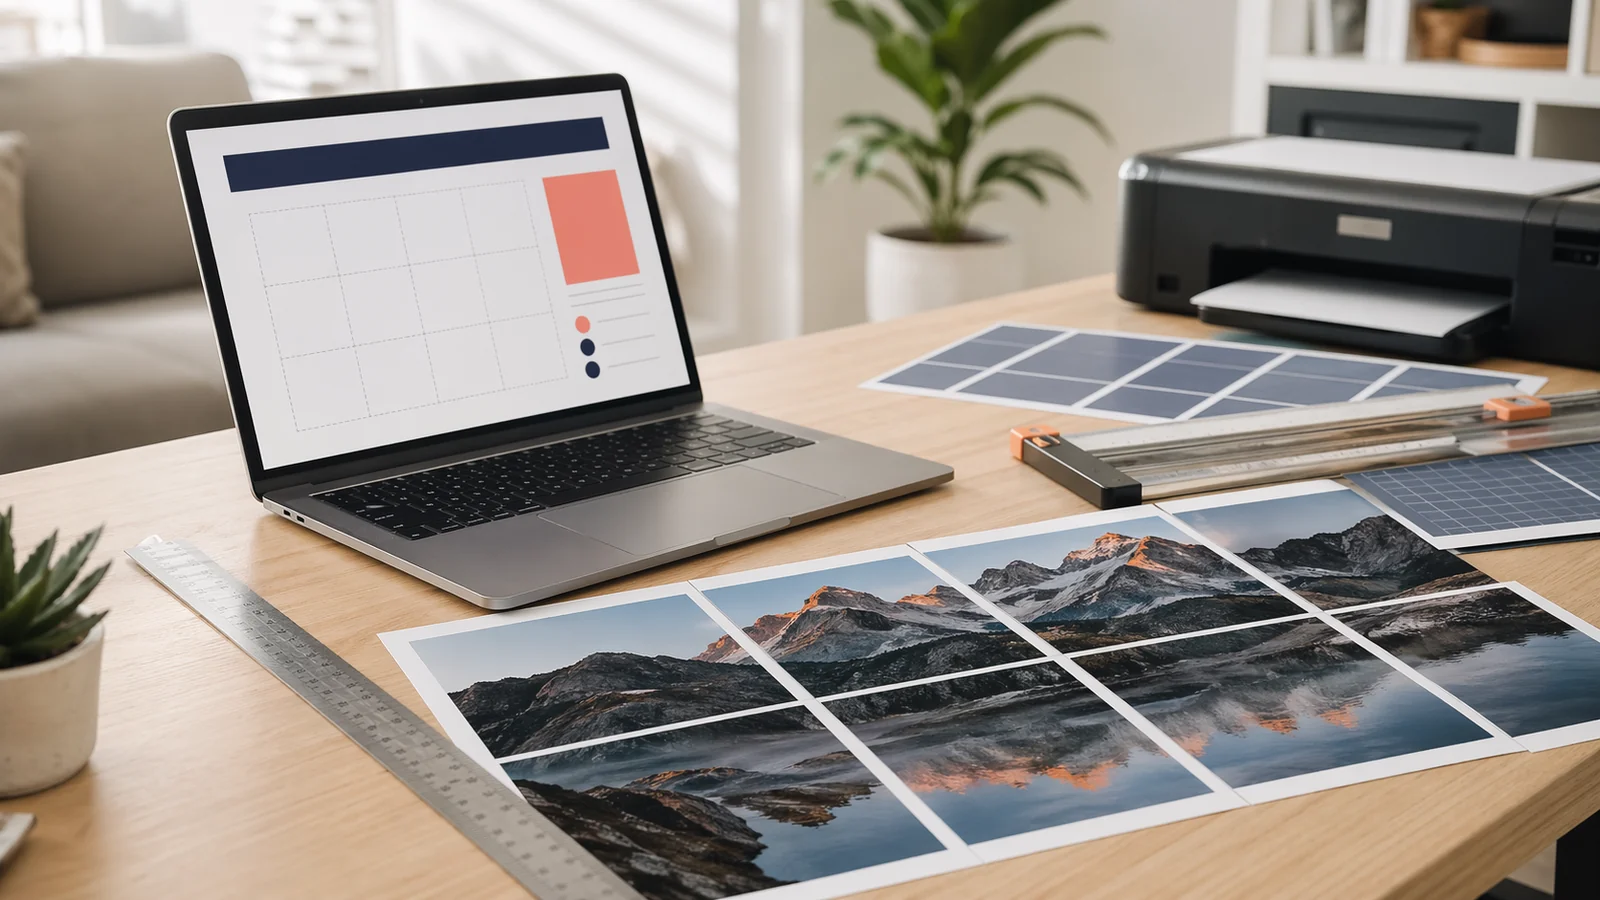
Printing the pages is only half of a block poster project. The finished result depends on how you trim, align, tape, and mount those pages. A careful assembly process can make an ordinary home print look polished. A rushed process can make a good image look crooked, even when the PDF and printer settings were correct.
The good news is that clean assembly does not require special equipment. A flat table, a sharp blade or paper trimmer, tape, and patience are enough. The key is to work in a repeatable order: organize the pages, trim only the edges that need trimming, align by the printed image, and tape from the back.
Prepare the Workspace
Clear a surface larger than the finished poster if possible. Wipe it clean so dust does not get trapped under tape. Good lighting matters because alignment errors are easiest to see when shadows do not hide the seam. If the poster is too large for your table, assemble one row at a time and then join the rows on the floor.
- Paper trimmer, or a craft knife with a metal ruler.
- Low-tack tape for temporary alignment.
- Clear tape or archival tape for final seams.
- A pencil for light row notes on the back.
- A clean board or wall space for checking the finished poster.
Sort Pages Before Cutting
Lay every page out in grid order before you trim anything. Use page labels, row and column markers, or the image itself to confirm the layout. This step catches missing pages, duplicate prints, and upside-down tiles before cutting removes useful reference points. If your printer output is mixed, stack pages by row from left to right.
Do not assume the first page in the printer tray is the top-left tile. Some PDF viewers or printer drivers can change output order. A two-minute sorting check saves far more time than trying to discover the missing tile after half the poster is taped.
Trim in a Consistent Pattern
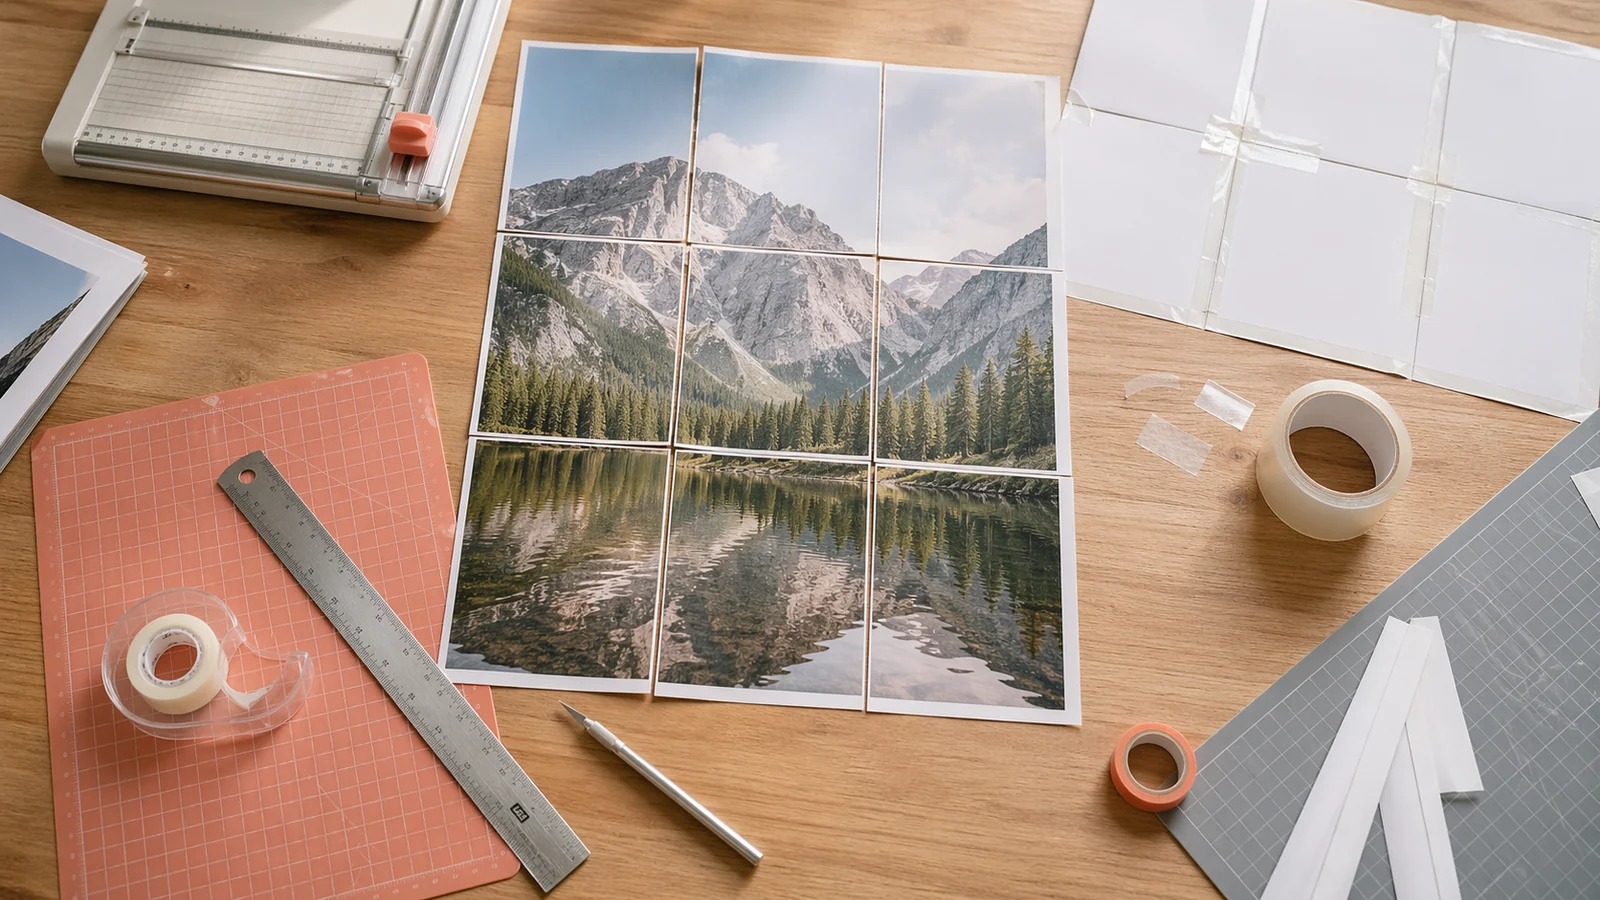
The cleanest method is to trim only two sides of most pages, usually the right and bottom edges. Leave the left and top edges as overlap tabs. When the next page sits on top, its printed image can cover the tab underneath. This approach keeps every seam supported and reduces the chance of white gaps.
For the far-right column, you may not need to trim the right edge. For the bottom row, you may not need to trim the bottom edge. Decide your pattern before starting and keep it consistent. If you are using scissors, make long cuts slowly instead of many short snips. If you are using a craft knife, use several light passes instead of pressing hard and tearing the paper.
Align by Image Detail, Not Paper Edges
Home printers can feed paper with tiny shifts. That means physical paper edges are not always perfect guides. Align by the printed image instead: a line, a face, a letter, a shadow edge, or a color boundary. Use the overlap area to slide the top sheet until those details match. Tape one small point first, then check the rest of the seam before committing.
If a seam looks slightly off, do not force the whole row to follow the mistake. Lift the temporary tape and realign early. Tiny errors compound across large posters. One careful correction at page two is easier than hiding a half-inch drift at page six.
Build Rows, Then Join Rows
For most posters, assemble each row first. Place row one face down, align the pages left to right, and tape the back of each vertical seam. Repeat for every row. Then bring the completed rows together from top to bottom. This keeps the poster manageable and makes it easier to correct one row without disturbing the whole grid.
- Sort all pages into rows and columns.
- Trim the chosen overlap edges.
- Assemble each row face down with light temporary tape.
- Check the front of the row before adding final tape.
- Join rows from top to bottom.
- Reinforce long seams on the back only.
Mounting Options
For temporary use, painter's tape, poster putty, or small clips are enough. For a cleaner wall-art finish, mount the assembled poster to foam board, cardboard, or poster board. Spray adhesive creates a smooth finish but is less forgiving, so use it only after the poster is fully aligned. Double-sided tape is easier for beginners because you can apply it in sections.
If the poster will be handled often, reinforce the back with a few horizontal strips of tape across row seams. Do not over-tape the front unless the design is meant to look handmade. Back-side reinforcement keeps the visible surface cleaner.
Common Assembly Mistakes
- Cutting every edge before deciding how overlaps will work.
- Aligning to paper edges instead of image details.
- Using permanent tape before checking the full row.
- Mixing pages printed at different scale settings.
- Mounting before the poster has been checked from normal viewing distance.
A clean multi-page poster is the result of small, careful choices. Sort first, trim consistently, align by the image, tape from the back, and check each row before moving on. The process takes a little longer than simply taping pages together, but the final poster looks straighter, flatter, and more intentional on the wall.
Related reading
A modern Posterizer alternative for tiled poster PDFs
Use Block Poster as a clean, multi-language Posterizer alternative when you want browser-based tiled PDFs, no signup, and image processing that stays on your device.

How to Choose Image Resolution for a Large Poster
Learn how pixels, DPI, viewing distance, and poster size work together so your multi-page poster prints sharp enough for its purpose.