How to Choose Image Resolution for a Large Poster
Learn how pixels, DPI, viewing distance, and poster size work together so your multi-page poster prints sharp enough for its purpose.

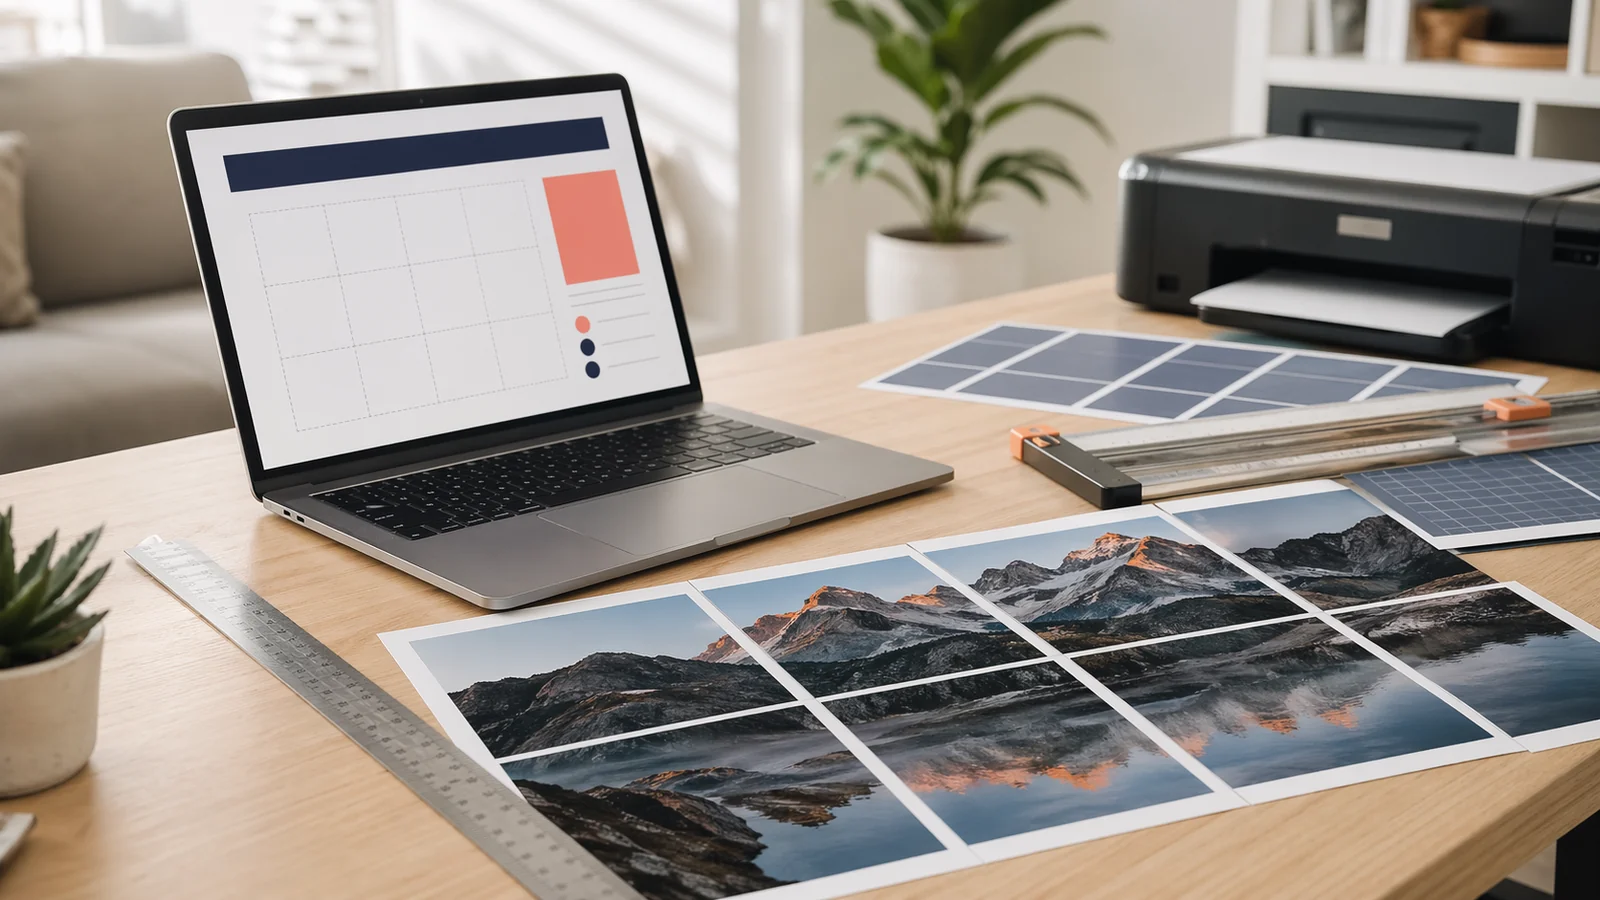
A large poster makes image quality more visible. A picture that looks sharp on a phone screen can look soft when stretched across several sheets of paper. That does not mean every poster needs a professional camera file. It means you need to match the image resolution to the final poster size and the distance from which people will view it.
Resolution decisions are easier when you separate three ideas: pixel dimensions, printed size, and viewing distance. Pixel dimensions tell you how much real image information exists. Printed size tells you how far those pixels are spread. Viewing distance tells you how much detail the viewer can actually notice.
Start with Pixel Dimensions, Not File Size
File size is a poor guide. A 2 MB JPG can be sharp if it contains enough pixels and was saved efficiently. A 12 MB image can still be blurry if it was enlarged from a small source. Look for the width and height in pixels. On most computers, you can find this in file properties, image information, or a photo editor.
For posters, the long side matters most. A 4000 x 3000 photo gives you 4000 pixels across the long edge. If you print it 24 inches wide, the effective resolution is about 167 pixels per inch. If you print the same file 48 inches wide, the effective resolution drops to about 83 pixels per inch.
Understand Practical DPI
DPI is often discussed as if 300 is mandatory. That is true for close inspection, small text, and high-end photo prints. It is not always true for wall posters. A poster viewed from three to six feet away can look good around 150 DPI. Large signs viewed across a room can sometimes work at 75 to 100 DPI, especially when they use simple shapes, large text, or painterly images.
- 300 DPI: close viewing, fine text, detailed artwork, patterns, and diagrams.
- 150 DPI: normal wall viewing for photos and classroom posters.
- 100 DPI: large graphics, event signs, and posters viewed from several feet away.
- Below 75 DPI: acceptable only for very distant viewing or intentionally soft images.

Estimate Before You Print
You can make a quick estimate with one formula: image pixels divided by printed inches. If the image is 3600 pixels wide and the final poster will be 30 inches wide, the poster is 120 DPI across that edge. If the same image is printed 20 inches wide, it becomes 180 DPI. This is why reducing the number of pages often improves sharpness more reliably than any filter or upscaling tool.
Margins and overlap slightly reduce the final visible area, so the exact number will not be perfect. That is fine. You are not trying to calculate a lab specification. You are deciding whether a project is likely to look crisp, acceptable, or too soft before using paper and ink.
Different Images Need Different Resolution
Photos tolerate lower DPI better than text. Faces, landscapes, and textured backgrounds often look natural even when they are not technically sharp. Small labels, maps, QR codes, sewing patterns, and thin line drawings need more resolution because blur is obvious around hard edges. If measurements matter, treat the poster like a technical document rather than wall art.
Screenshots are risky. They may contain crisp-looking interface elements on screen, but they are often only 1000 to 2000 pixels wide. Social media downloads are also risky because many platforms compress images heavily. Whenever possible, use the original camera file, design export, or high-resolution source instead of a copy saved from a chat app.
Design exports need the same care. If you create a poster graphic in Canva, Figma, PowerPoint, or another design tool, export the final artwork at the largest size available. A PDF or PNG export is usually better than a screenshot because it preserves more detail and avoids the browser or operating system scaling the design down.
What to Do with a Low-Resolution Image
- Print fewer pages wide so the same pixels cover a smaller area.
- Use the image as a background and add large, readable text on top.
- Choose a style that accepts softness, such as vintage, collage, or painterly art.
- Try gentle upscaling, but check the result with a test tile before printing all pages.
- Avoid large posters from tiny logos, screenshots, or web thumbnails.
Use a Test Tile for the Final Decision
A resolution estimate tells you what to expect, but a test tile tells you the truth. Choose a page that contains the most important detail: eyes in a portrait, small text in a chart, thin lines in a pattern, or high-contrast edges in a logo. Print that tile at the final scale. Stand where viewers will stand. If the detail looks acceptable there, the full poster is worth printing.
If the test tile fails, change only one variable at a time. First reduce the poster size. If that is not possible, try a better source file. If you still need the same large size, consider changing the design so the low-resolution image becomes a background texture rather than the main subject.
A good poster does not have to survive inspection from two inches away. It has to look right in the place where it will hang. Match resolution to that real use, and you will avoid both blurry disappointments and unnecessary oversized files.
Related reading
A modern Posterizer alternative for tiled poster PDFs
Use Block Poster as a clean, multi-language Posterizer alternative when you want browser-based tiled PDFs, no signup, and image processing that stays on your device.
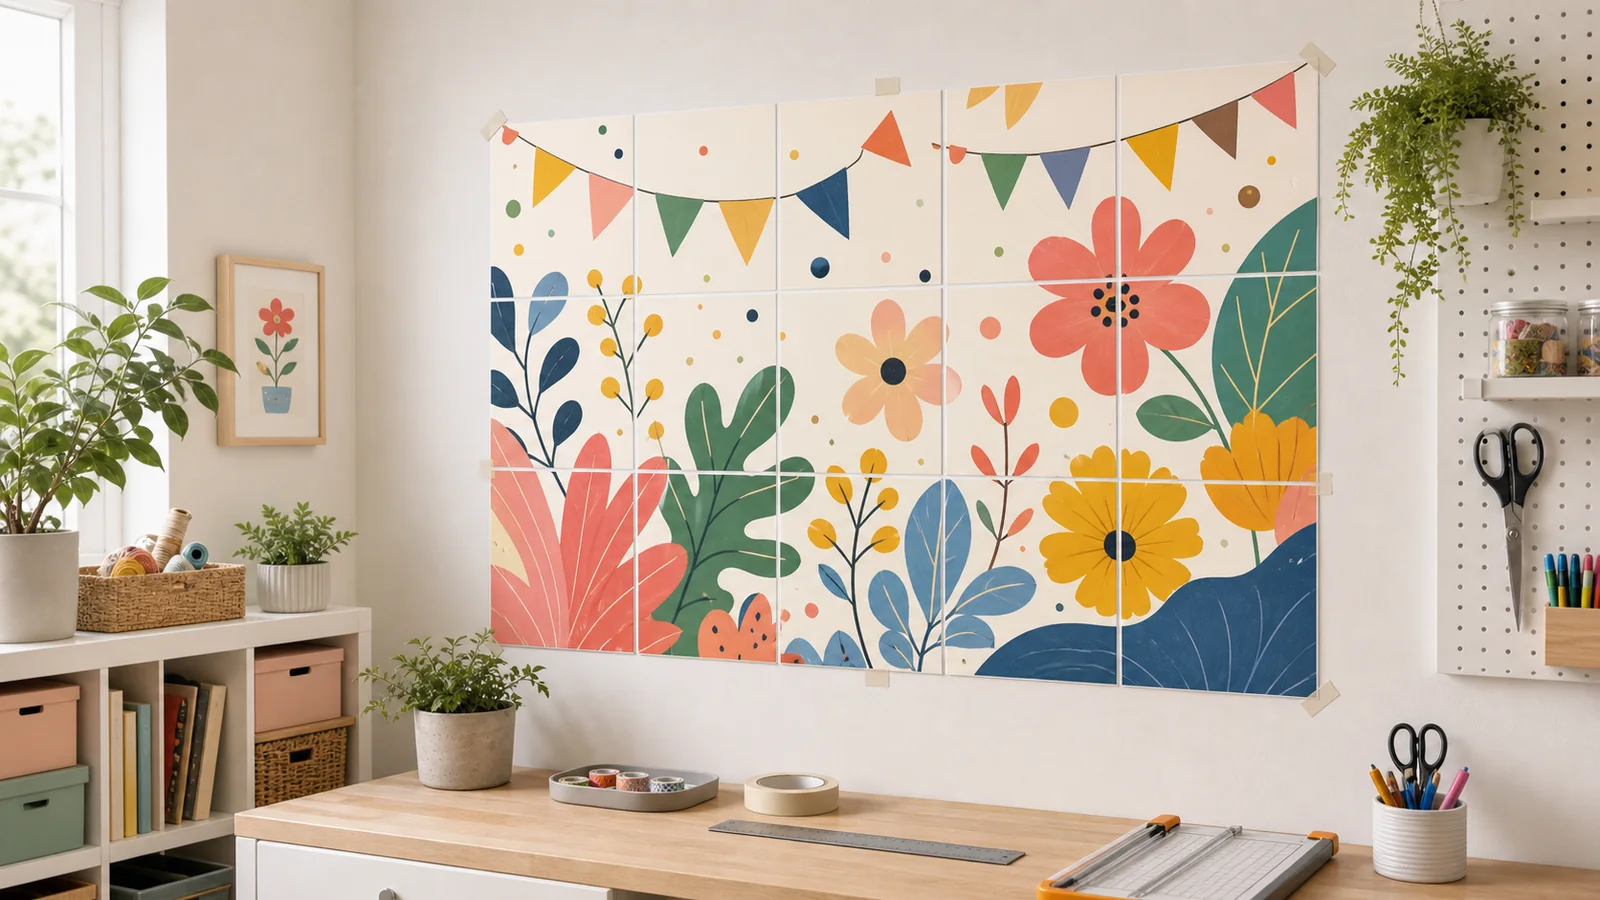
How to Assemble a Multi-Page Poster Cleanly
A step-by-step workflow for trimming, aligning, taping, and mounting block poster pages so the finished poster looks straight and intentional.