Best Print Settings for Block Posters at Home
A practical guide to printing tiled posters at the correct scale, with reliable paper, margin, quality, and test-page settings for home printers.
Most block poster problems start in the print dialog, not in the poster maker. The PDF can be perfectly tiled, labelled, and sized, but one printer setting can shrink every page, clip a margin, or shift the grid enough to make assembly frustrating. The goal is simple: every tile should print at the exact size generated by Block Poster, on the same paper size you selected, with enough margin and overlap to hide small feeding differences.
This guide focuses on ordinary home printers and desktop PDF viewers. You do not need advanced color management or a commercial print workflow. You do need to slow down for the first test page, because it is cheaper to catch a wrong scale on one sheet than after printing a 24-page wall poster.
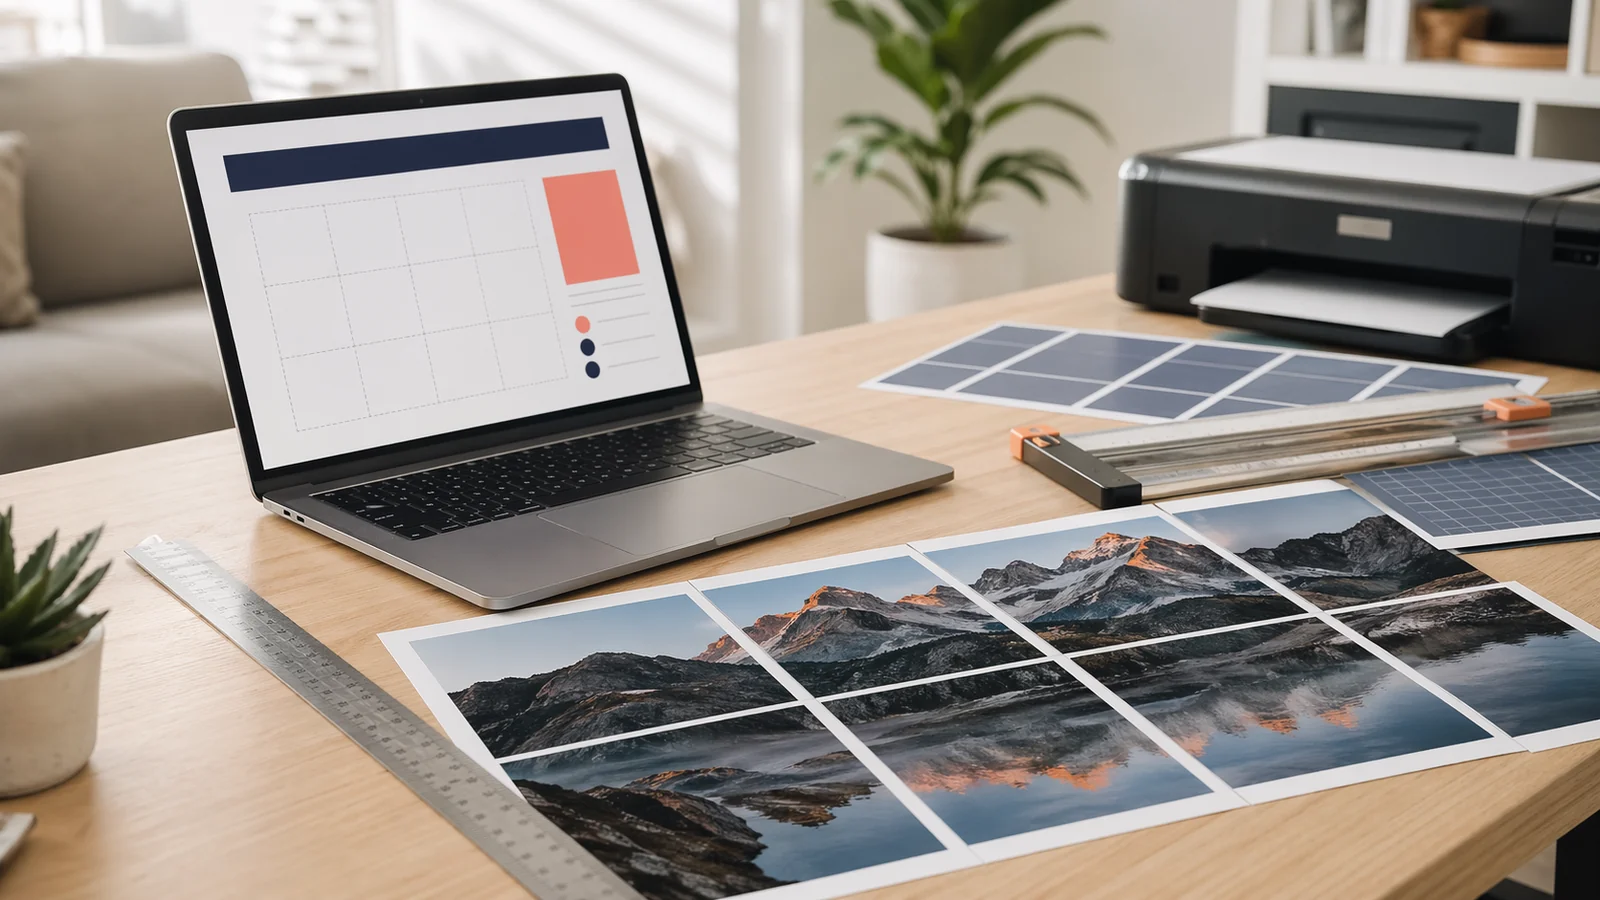
Use Actual Size or 100 Percent Scale
The most important setting is scale. Choose Actual Size, No scaling, or 100 percent. Do not choose Fit to page, Shrink oversized pages, Fill page, or any setting that lets the printer driver resize the PDF. A tiled poster depends on every page staying the same physical size. If the viewer shrinks each page to fit inside a different printable area, the image may still look centered, but the seams will no longer match.
If your PDF viewer shows a preview ruler or page dimensions, check that the page size matches your selected paper. A4 should be 210 x 297 mm. US Letter should be 8.5 x 11 inches. If the preview shows a different page size, stop and correct the paper setting before printing.
Match Paper Size in Three Places
Paper size has to match across the whole workflow: inside Block Poster, inside the PDF viewer, and inside the printer driver. Many mistakes happen when a user creates an A4 poster but prints on Letter paper, or creates a Letter poster and prints from a system that silently defaults to A4. The difference is small on one sheet, but it becomes visible across a four-column or five-column poster.
- Choose the paper size that is physically loaded in the printer tray.
- Use the same paper size when generating the PDF in Block Poster.
- Open printer properties and confirm the driver is using that same size.
- Avoid auto paper selection unless your printer tray detection is reliable.
Keep Margins Realistic
Most home printers cannot print to the very edge of the page. Even printers that advertise borderless printing often enlarge the image slightly to make ink bleed past the paper edge. That enlargement is useful for photo prints, but it is risky for a tiled poster. Unless you know your printer handles borderless mode without scaling, use normal margins and trim the finished pages by hand.
A margin of 5 to 10 mm works for many inkjet and laser printers. If the printer clips page labels, crop marks, or image edges, increase the margin and export the PDF again. The finished poster may become slightly smaller, but the assembly will be cleaner and more predictable.
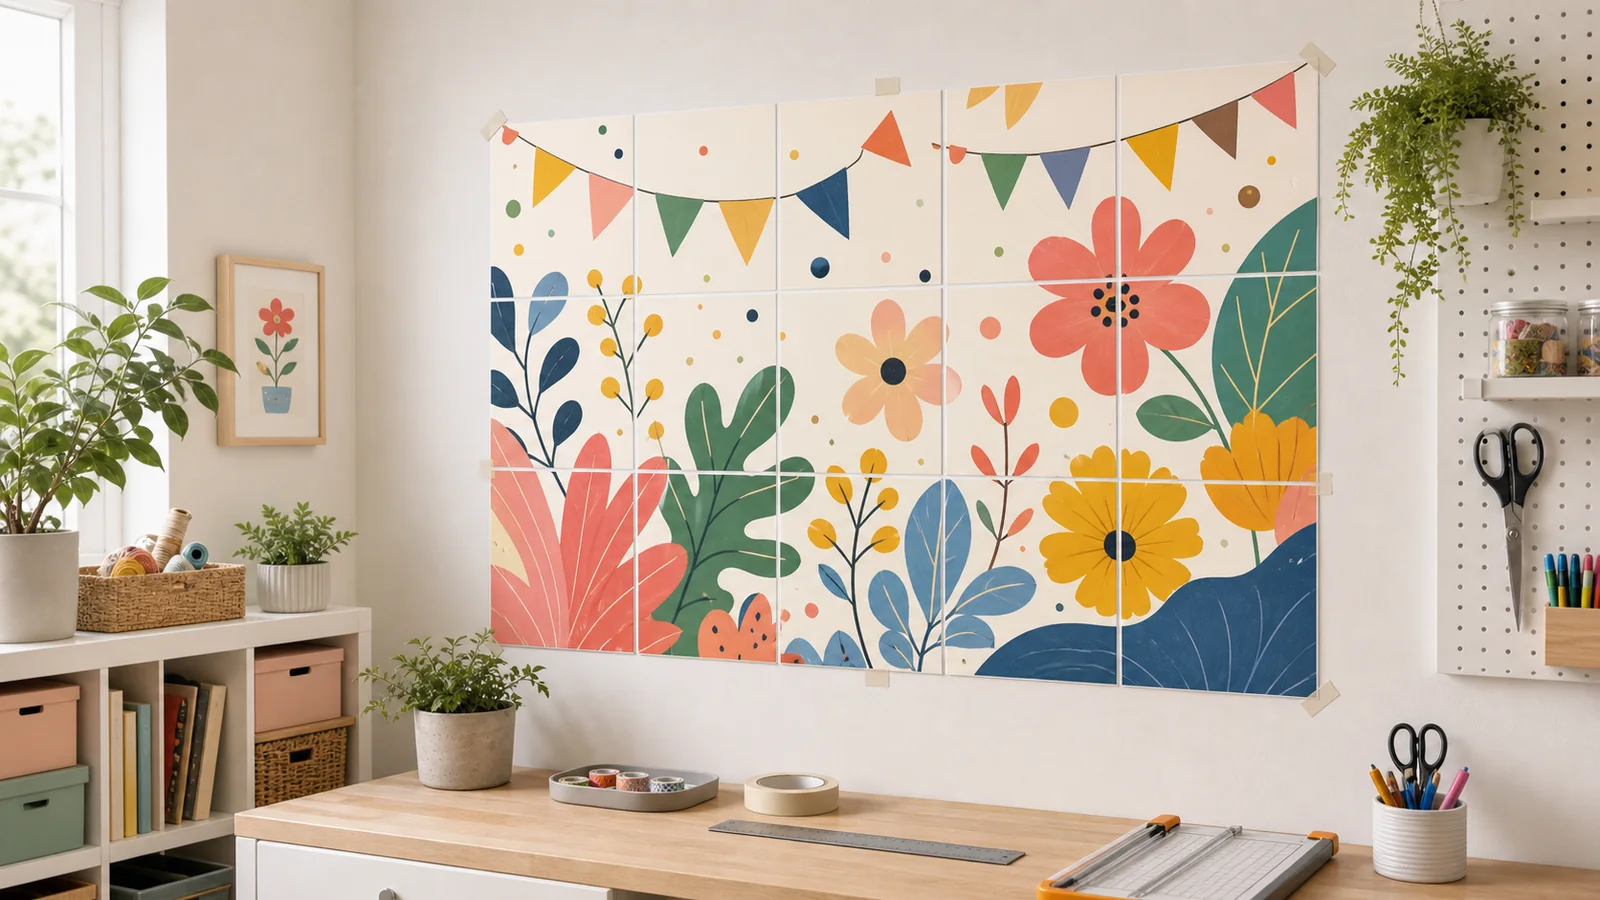
Use Enough Overlap
Overlap gives you room to align pages without exposing white gaps. For most posters, 10 to 15 mm is a practical range. Use less overlap only when you want to save paper and the image has forgiving edges. Use more overlap for large grids, thick paper, heavy ink coverage, or designs with straight lines that make tiny alignment errors obvious.
Overlap is not wasted space. It is an assembly allowance. When two tiles meet, the overlap lets you trim one edge and slide the top sheet until the image details match. Without overlap, you have to align two raw paper edges perfectly, and most home printers feed paper with slightly different offsets from sheet to sheet.
Choose Quality Based on the Project
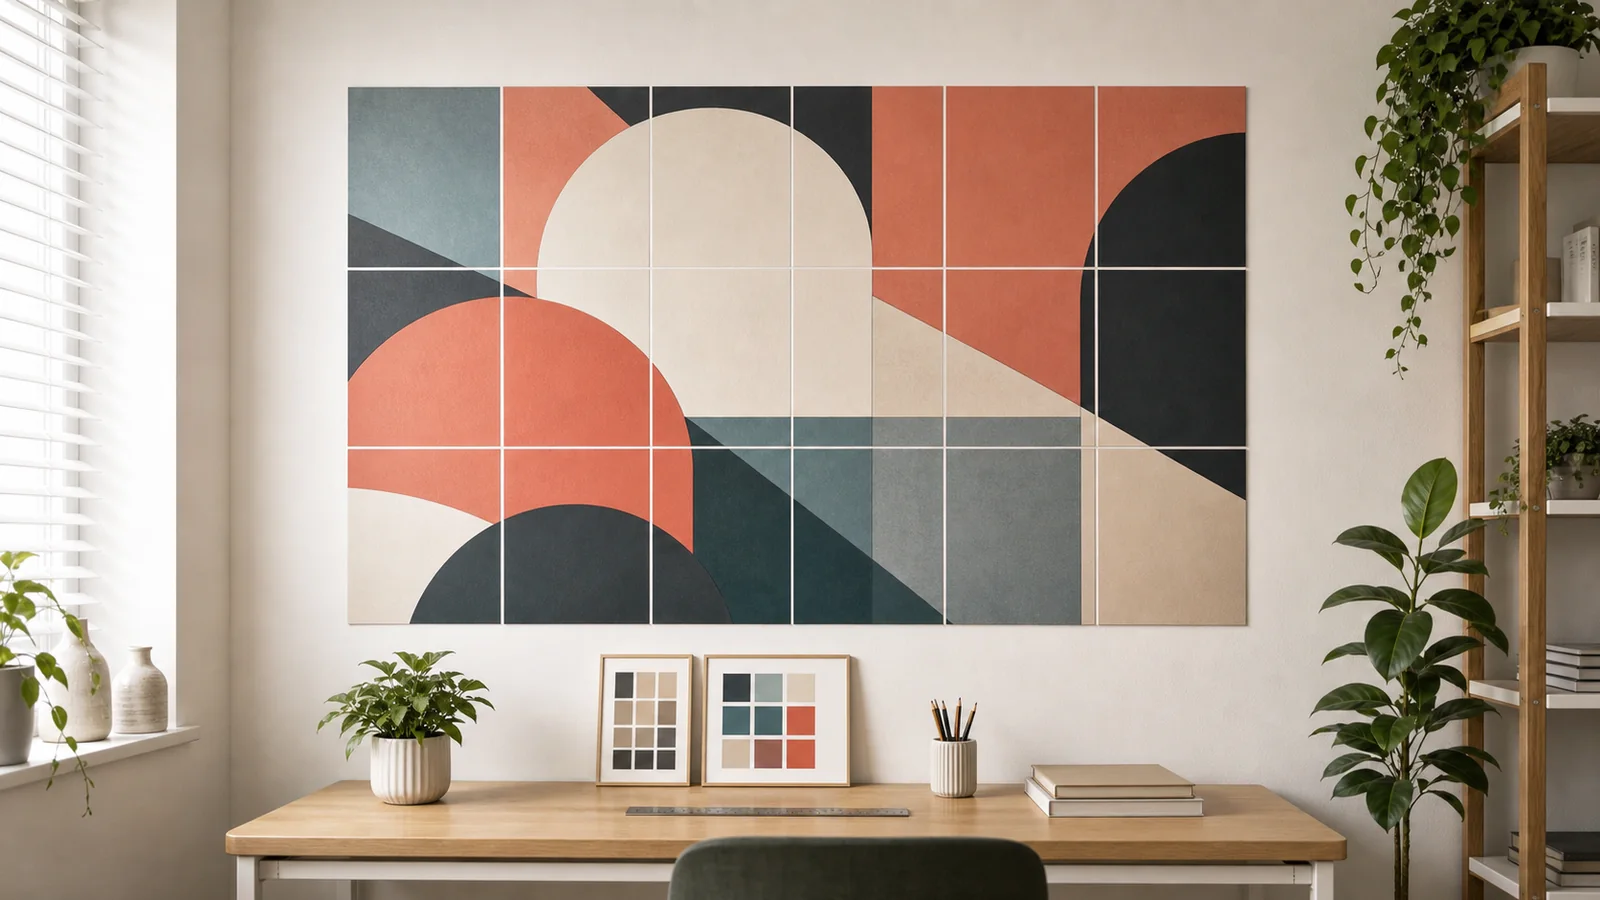
High quality mode is worth using for wall art, photo posters, and anything with dark backgrounds. It lays down more ink, reduces banding, and can improve gradients. Normal quality is usually enough for classroom charts, event signs, sewing patterns, and draft layouts. Economy mode saves ink but often creates uneven color, so avoid it when tiles need to match across seams.
If you use photo paper, choose the matching media type in the printer driver. Printer drivers adjust ink limits based on paper type. Plain paper settings on photo paper can look dull; photo paper settings on plain office paper can over-ink, curl, or smear.
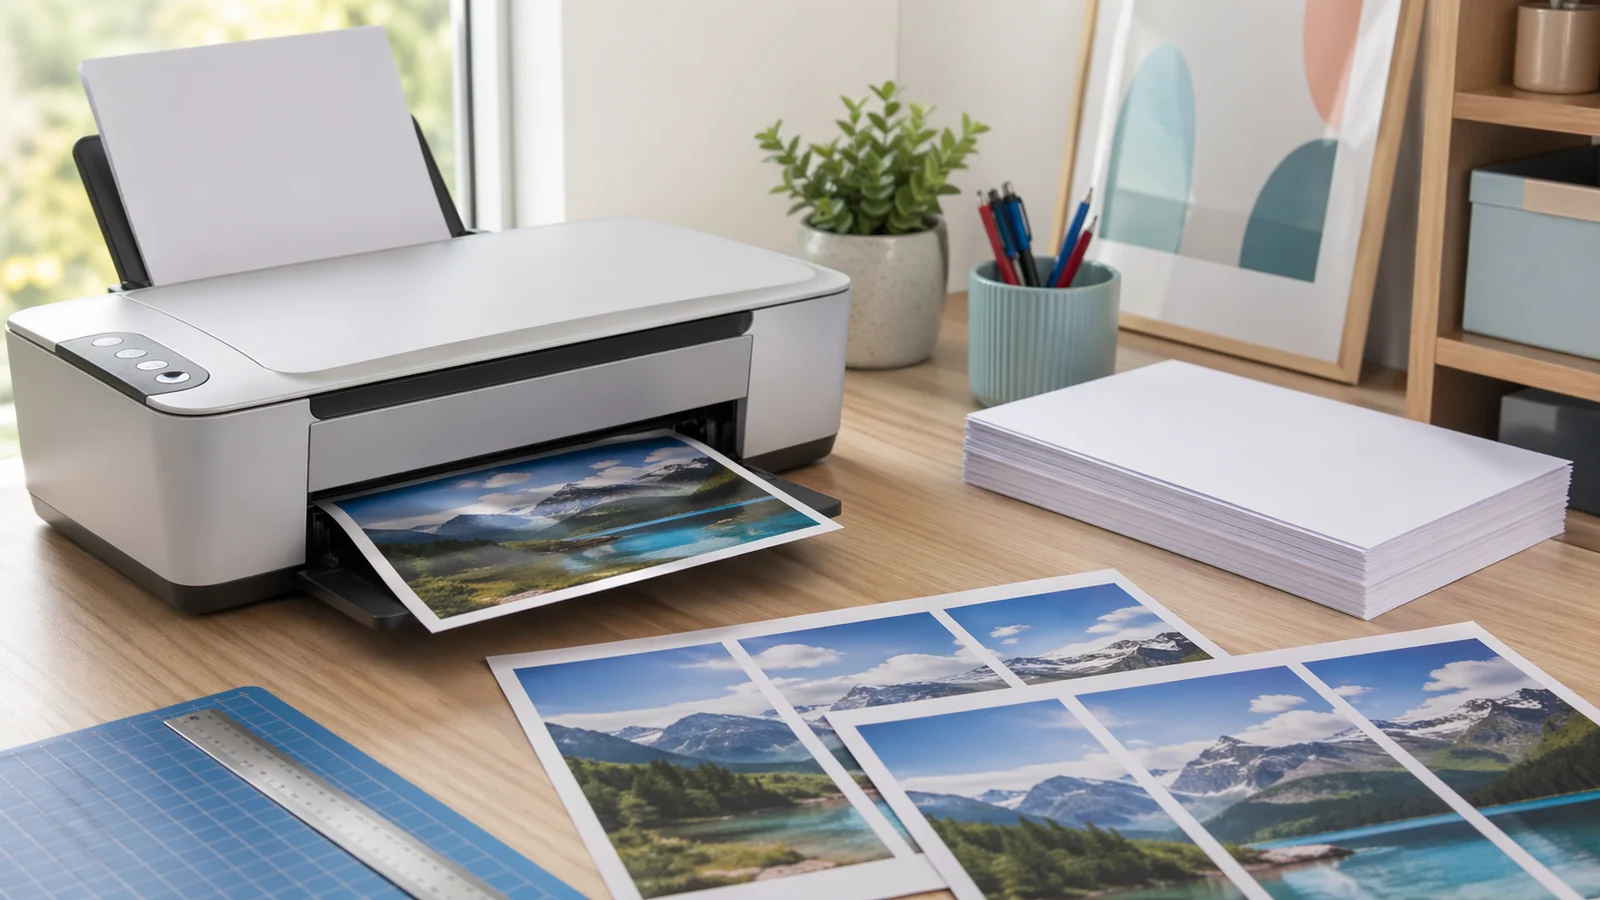
Print One Test Tile First
A test tile should include useful detail: a face, text, a border, or an area where two colors meet. Print that one page at the exact settings you plan to use for the full poster. Check scale, margins, color, sharpness, and whether the page labels are visible. Hold the test tile at the distance where the finished poster will be viewed. If it looks soft only from six inches away but fine from a few feet, the poster may still be completely suitable.
- If the tile is too small, disable Fit to page and print at 100 percent.
- If the edge is clipped, increase margin or choose the correct paper size.
- If colors look weak, use higher quality mode and the right media type.
- If the paper curls, reduce ink coverage or switch to heavier paper.
Recommended Starting Settings
For a first block poster, start with A4 or US Letter paper, portrait orientation, 8 to 10 mm margin, 10 to 15 mm overlap, Actual Size printing, and normal or high quality mode. Print one representative tile. If that tile is correct, print the full PDF in one session so color and paper feed stay as consistent as possible.
These settings are not glamorous, but they solve the real problems. A block poster succeeds when the pages are predictable. Once you trust the scale, paper, margin, and overlap, the rest of the process becomes simple cutting and alignment.
Related reading
A modern Posterizer alternative for tiled poster PDFs
Use Block Poster as a clean, multi-language Posterizer alternative when you want browser-based tiled PDFs, no signup, and image processing that stays on your device.
How to Assemble a Multi-Page Poster Cleanly
A step-by-step workflow for trimming, aligning, taping, and mounting block poster pages so the finished poster looks straight and intentional.